4 Simple Styles For Type 4 Hair

4 Simple Styles For Type 4 Hair
Usually the verbiage around type 4 hair is that it’s hard to manage, that it’s unkempt or messy. I want you to know that it’s not true. Type 4 hair, especially 4c is the most malleable type of hair. You can do a lot with it. I want to show you some easy hairstyles so here’s 4 Simple Styles For Type 4 Hair.
DISCLAIMER! This page may contain some affiliate links. If you choose to purchase after clicking a link, I may receive a commission at no extra cost to you.
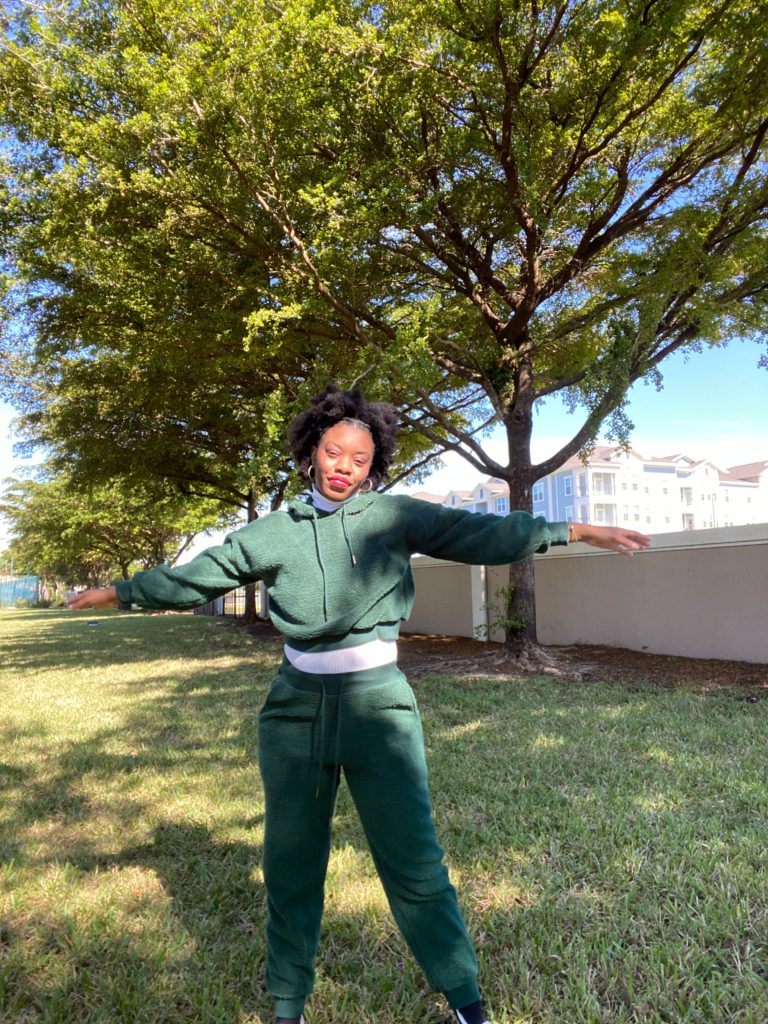
Style Factor Collab
So this collaboration is a long awaited one. Style factor sent me a box full of products late September and unfortunately that was right before Hurricane Ian hit Fort Myers where I live. Before the hurricane I filmed an unboxing video and was planning so much content for it. After the hurricane I think because of the shock of it I was just trying to get by. Because of it I was just using the products and not thinking about content.
That means besides the unboxing video I have below I don’t have pictures of the products before I used them. The only picture I have is from my 12 Days of Blogmas. I did eventually film another video with the few products that I have which is also below.
Now let’s actually talk about the products, I was gifted two lines: the edge booster line and the wave booster line. Let’s start with the conditioning shampoo and a leave-in conditioner, which my mom said was the only shampoo that she has used that made her hair soft. I only got to use the shampoo and conditioner once because my mom stole it from me and has been asking me to get more.
I was given two different biotin hair oils which I love. One was a scalp stimulating drop which I used to massage my scalp and get rid of build up. The other was an intensive oil which I used as a hot oil treatment or to oil my scalp when I have protective styles.
I absolutely loved the foam mousse and so did my sister because she used it to keep her protective styles looking fresh. I used it to do a twist out and I think it’s the first time my hair felt light and bouncy after a twist out.
4 Simple Styles For Type 4 Hair
2 Buns Half Up/Half Down Style

Let’s start with the easiest look just two buns with a half up/half down look. In this picture I have my hair stretched by blow drying it but you can have your hair in a wash and go or a twist out to achieve this look. if my hair was in a twist out I would do two puffs because it would be shrunken and wouldn’t be able to do a bun.
Part your hair to separate the front and the back half. Make sure you either but the back half in a ponytail or clip it so it stay in place. Then part the front half down the middle. To make the middle part perfect use a little bit of edge control like the one from style factor. Use a brush to brush each side into buns. And there you go.
Fake Flat Twists & Afro
I love doing flat twists but whenever I try to do them in the front perimeter of my hair it never stays nice. It might be because some parts are thinner than the rest. So to have similar look I added rubber bands to keep it to together. I first part the front of my hair away from the back, maybe an inch/an inch and a half worth of hair. Then I part the front part down the middle using edge control to make the part clean.
I take one side and separate them into three even parts and use a clip to hold them in place. I take the first section that is closest to the middle part of my head and use edge control around it. Put oil on the rubber band then add the rubber band to the section. Use mousse to twist down the hair but not all the way so you can add it to the next section. Repeat on both sides. Then you can let the rest of your hair out in an afro.
Crisscross In The Front Natural In The Back
We are getting a little creative now with this look. The second video above is this hair style but I’m going to try my best to explain how I achieved this look. So first I part my hair horizontally in the mid section of my head and keep the back part secured with a scrunchie. Then I part the front in four big sections using edge control to keep the lines smooth.
I take one of the four sections and split in in half on each side I need three sections so six sections in total. I take one of the section in the front, it doesn’t matter which one. Add edge control and a rubber band that was soaked in oil. After you secure it with the rubber band use mousse to twist the hair. You don’t have to twist it all the way because your going to add it to the second section that is diagonal from it.
Then you going to take the next front section do the same and cross it on top of the last twist. You’re going to repeat this process until all 4 sections of your hair is done. After your done with the front using the same mousse put the back of your hair in mini twists for a twist out. So take a small/medium section of you hair add mousse, rake it through completely then twist your hair down.
I let my hair dry over night making sure I tie my hair down. When it dry I add a bit of oil to my hands so I can take down the twist and I fluff my hair out. You can leave your hair like that or you can add two buns like I did in this picture.
Crisscross In The Front Protective Twists In The Back
So this is a simple style that might be a little time consuming. I wanted to include a protective style in here because sometimes it feels great not doing your hair for a while. I think that this is simple enough that anyone can try. It will just take a while. For the front half of your hair style follow the instructions of the previous style. Now for the back I’m going to be honest I’m not perfect with parting. I tried to be perfect with it the first time I tried it but it took too long.
What I do is take small sections and braid it until the back is completed braided with small plaits. Then I grab a bit of twisting hair and crochet it through the top of the braid. I would braid the hair down until my hair is done and twist the rest of the way down. I would repeat that until the back is completed. Now the twist that are from the front section I did different. I was going to crochet it at first but the twist would have been bulkier. So I braided my hair down a bit, then split the braid in two sections and added the twisting hair. I twirled it around a bit then twisted down.
I usually do my whole head in twist but this was quicker and gave me a different look. However I would have to redo the front to make it look nice again. Without retouching it this style can last two week.
Thanks For Reading
Thank you for reading my 4 simple styles for type 4 hair. Which one do you think is the best? Let me know in the comments down below!